
Combat
Master the tag combo system in Beast of Reincarnation — stack Status Ailments through mid-combo switches, trigger Signal Skills, and leverage the Reincarnation loop for strategic resets.
Introduction
Combat in Beast of Reincarnation revolves around the tag combo system, where stacking Status Ailments through coordinated attacks triggers devastating Signal Skills. The Reincarnation loop adds strategic depth — each reset preserves knowledge and Memory Fragments while resetting encounter states, allowing players to refine their execution. Mastering the interplay between ailments, Signal timing, and Familiar abilities is essential for surviving the game's increasingly demanding encounters.
Combat System Overview
| Mechanic | Tier | Complexity | Key Input |
|---|---|---|---|
| Tag Combo Chains | S | High | Switch mid-ailment |
| Signal Skills | S | Medium | Cooldown trigger |
| Familiar Abilities | A | Low | Passive + active |
| Reincarnation Reset | A | High | Loop mechanic |
| Basic Attack String | C | Low | Auto-attack |
Combat Mechanics
Tag Combo System
Core combat — chain ailments across tagged characters for burst damage
Signal Skills
Powerful cooldown abilities scaled by stacked ailment count
Familiar System
Passive bonuses + active interrupts on separate cooldowns
Reincarnation Loop
Reset encounter state while preserving Memory Fragments
Core Mechanics
The combat system operates on a chain reaction principle: apply Status Ailments → stack combos → trigger Signal Skills for burst damage. Each character has a primary ailment that chains with other characters' ailments in specific sequences (Knockdown → Shock → Freeze → Shatter). Signal Skills are powerful cooldown abilities that deal bonus damage based on the number of stacked ailments. The tag system allows mid-combo character switching, enabling cross-ailment chains. Familiar abilities provide passive bonuses and active interrupts on separate cooldowns.
Advantages
Combat guides break down the tag combo system, Signal Skills, Switching Signals, and ailment interactions that form the core of high-level play. Mastering combat mechanics dramatically increases damage output and survivability in challenging encounters.
Challenges
Combat system depth means guides may oversimplify complex ailment interactions. Reincarnation loop combat modifiers are not fully documented — some encounters gain new attack patterns after loops. The tag combo window timing is reportedly tight (within 0.5s), making consistent execution challenging. Ailment immunity on certain late-game enemies invalidates some combo strategies.
Frequently Asked Questions
What is the most important combat mechanic to learn first?+
How tight is the tag combo timing window?+
Do Reincarnation loops make combat easier or harder?+
Quick Tips
Master the basic Knockdown→Shock chain before attempting complex combos
Signal Skills scale with ailment stack count — stack before triggering
Familiar active abilities can interrupt boss charge attacks on separate cooldowns
Reincarnation loops reset enrage timers but also modify boss AI slightly
Featured

Beast of Reincarnation Best Combat Style: Mastering All Phases & Koo Usage
Break down Beast of Reincarnation combat phases explained, how to use Koo in combat, and spirit stone combat tactics to master every fight.

Beast of Reincarnation Combat Guide: Master the System
Unlock the full potential of Beast of Reincarnation combat with this in-depth guide. From weapon types to advanced dodging, learn how to dominate every fight.

Beast of Reincarnation Action Combat Guide: Master Hybrid Mechanics
Unlock the secrets of the Beast of Reincarnation action combat guide. Learn hybrid combat system mechanics, best abilities, and solo tips to dominate every fight.
All Articles

the game Beast of Reincarnation Boss Fight Strategies & Damage Types Guide
Master the Beast of Reincarnation boss fight with our deep dive into damage types, combat mechanics, and strategies to deal more damage. Pro tips inside.

Beast of Reincarnation Dodge Guide: Combos & Koo Techniques
Master advanced combat in Beast of Reincarnation with our dodge guide, combo flowcharts, and Koo techniques for high-tier play.
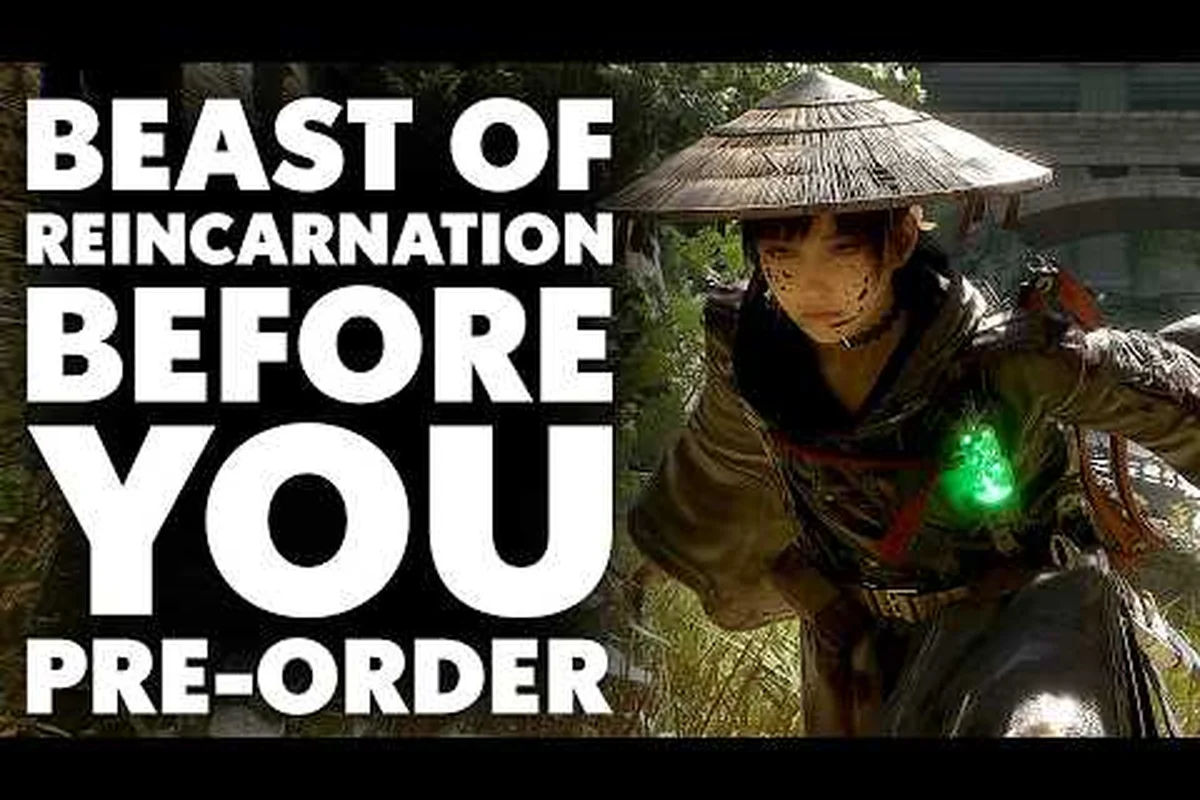
Beast of Reincarnation Emma Skills Guide: Mastering Iai-Jutsu
Master the Beast of Reincarnation Emma skills guide. Learn to execute Iai-jutsu combos, perfect counters, and maximize synergy with Koo's spectral commands in turn-based combat.

the game Beast of Reincarnation Ranged Combat Tips for Maximum DPS
Master Beast of Reincarnation ranged combat tips including stealth, aggressive builds, parrying, and dual-character synergy. Optimize your loadout for any encounter.